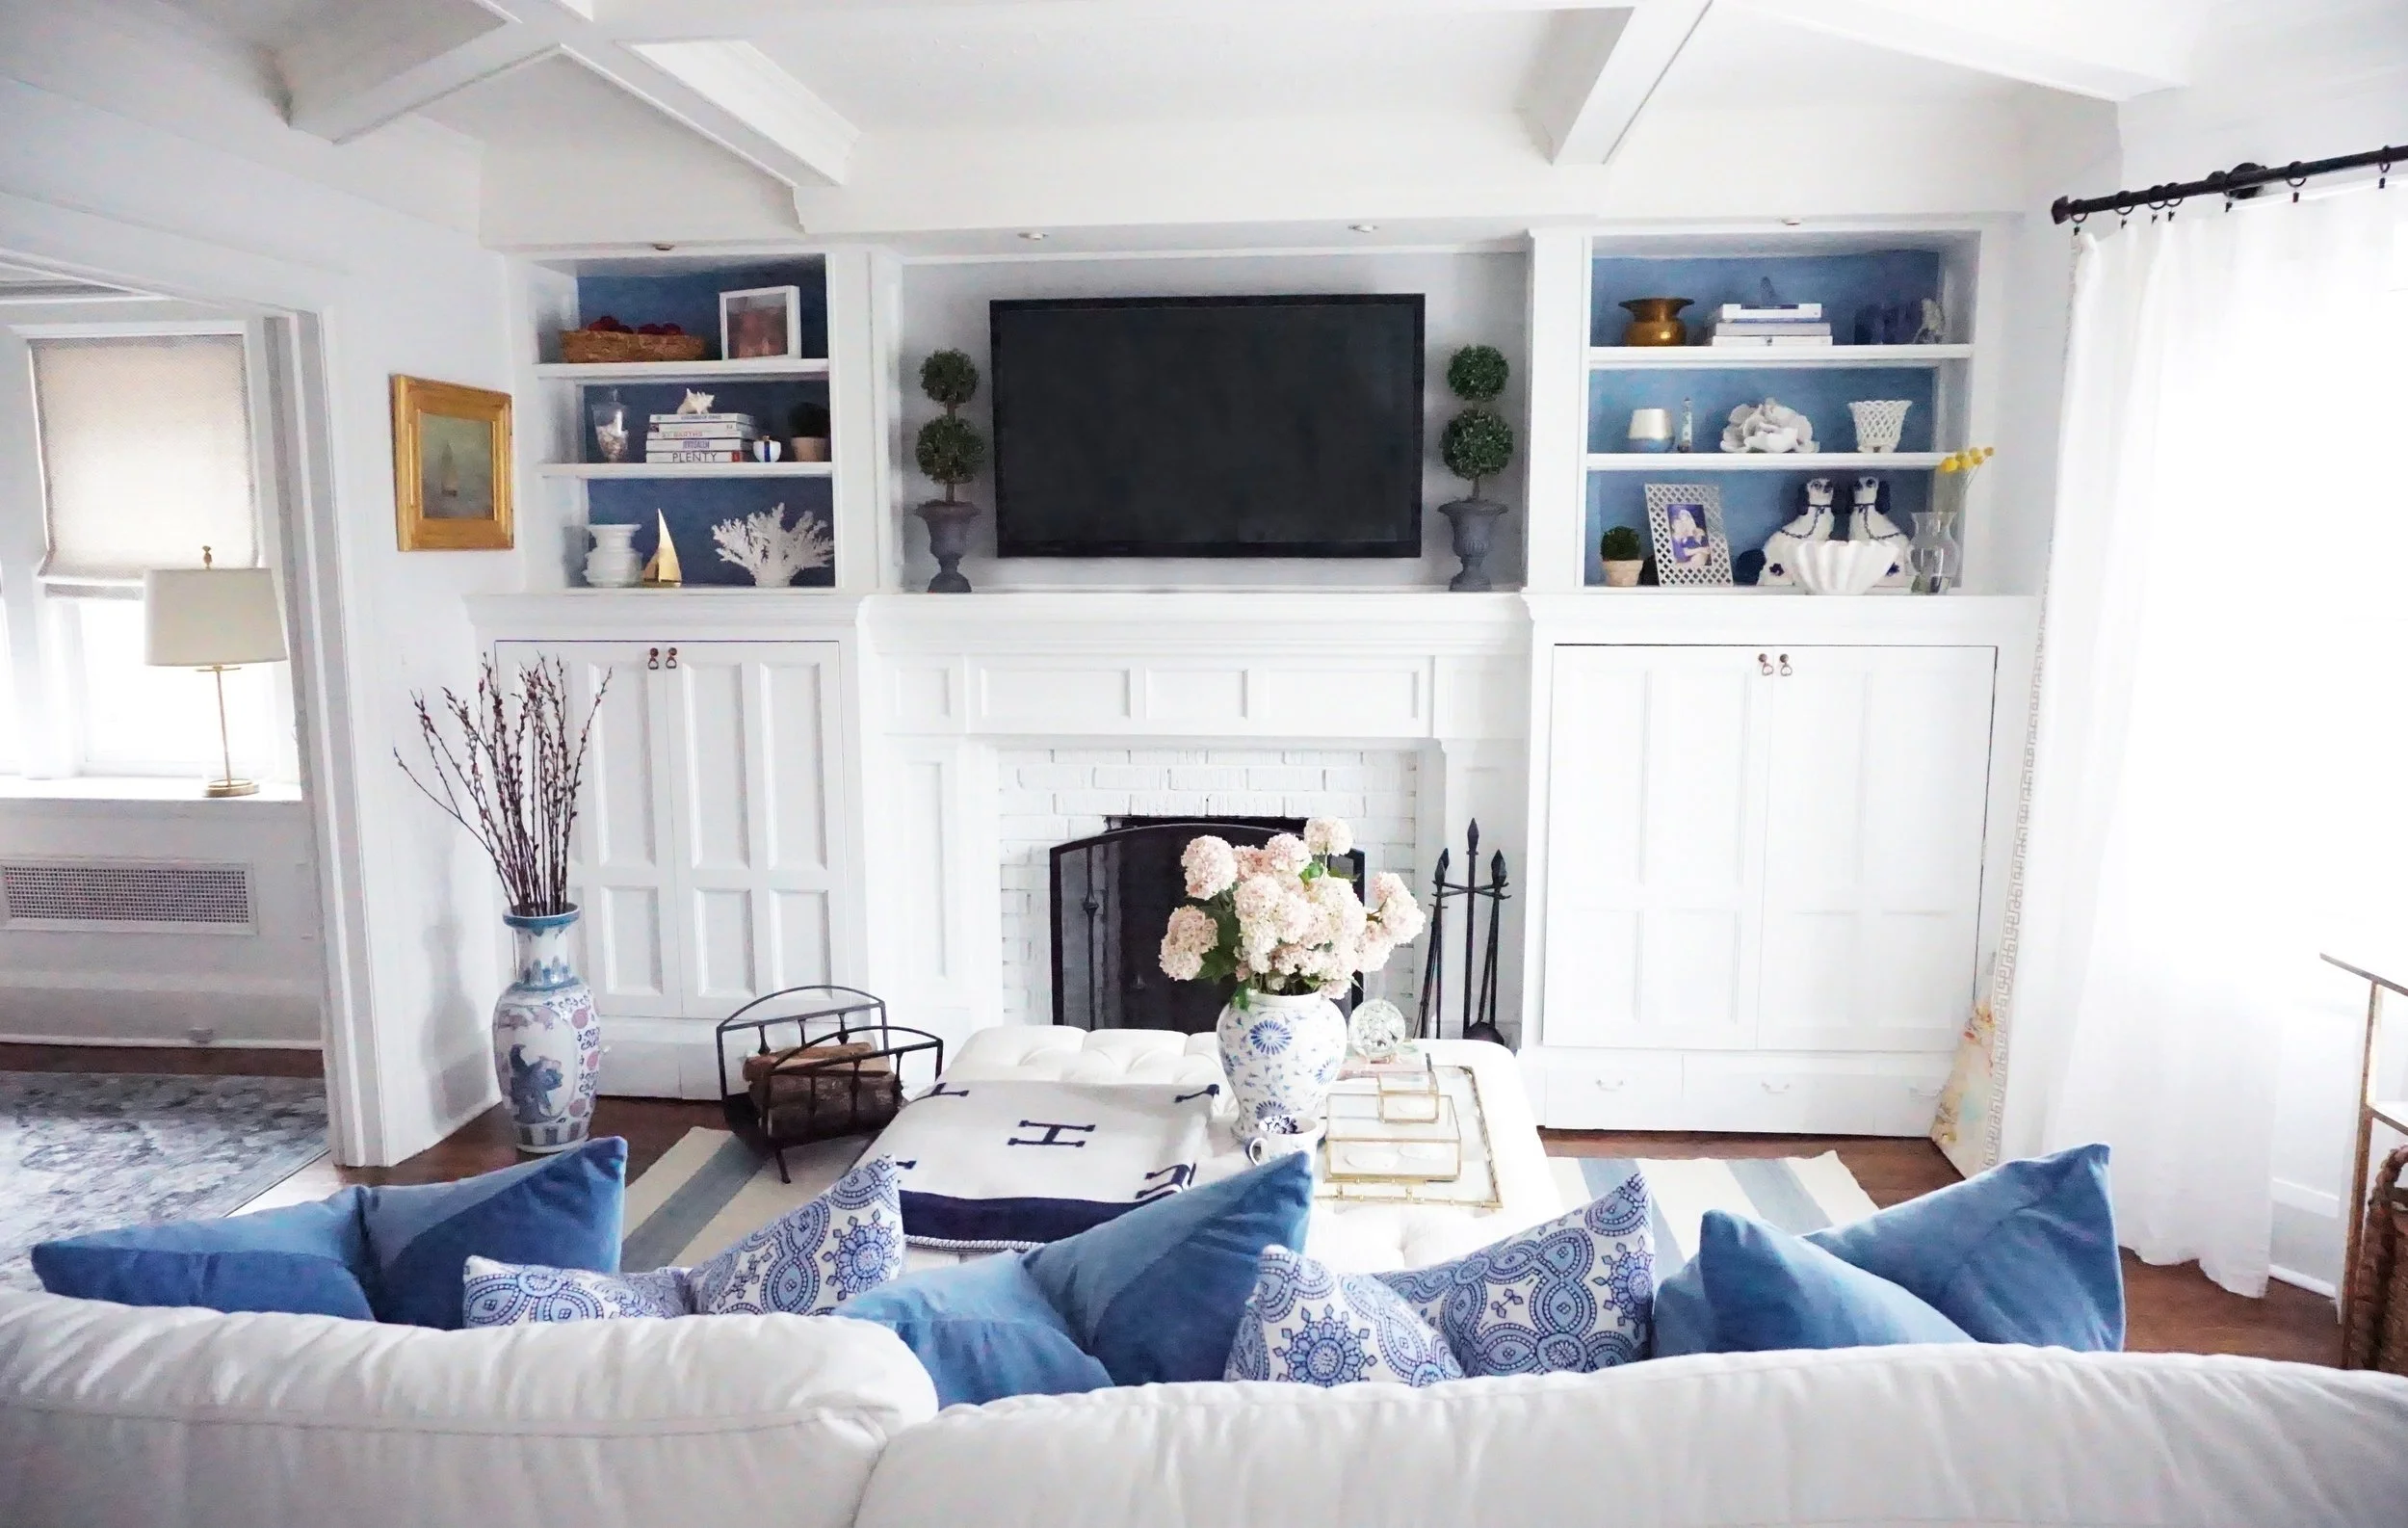
DIY: Fireplace Transformation
We’re coming to you with another fun DIY project that we’re so excited to share: Our fireplace transformation! Let us tell you, a little paint goes a LONG way in making over these hot spots. So without further ado, here’s how we did it!
1. Keep it clean:
Start scrubbing your fireplace to ensure that you clean all the dirt and debris off. A helpful tip is to cover your floors beforehand so that if any residue falls, it will make for easy cleanup, and your floors will remain protected.
2. Prime time:
Before you begin to paint, prime the areas of your fireplace where you will be applying paint. This will make the paint application smooth and will help it stay on/remain intact.
3. Paint:
Now that your fireplace is primed and ready to go, it’s time to get out your paintbrush and start painting! You’ll want to ensure that your paint is heat-resistant and that it’s well suited for the material you are painting on (ex: brick or wood).
4. Adhesive for the win:
If you have an area on your fireplace that enables you to add tiles/marble, a great way to achieve that stone look on a budget is by opting for stick-on tiles! This will give the illusion of real tiles without breaking the bank and chiselling away at the fireplace. Plus, they are super easy to apply.
5. Style, style, style:
Now for the fun part! After your paint is dry, it’s time to whip out your favourite personal/decorative items to prop up on the shelves/ mantle of your fireplace. Layer with fabulous coffee table books and add a pop of your favourite flowers/greenery to tailor the space to you.
Scroll to see some behind-the-scenes photos of this fun before and after.


